
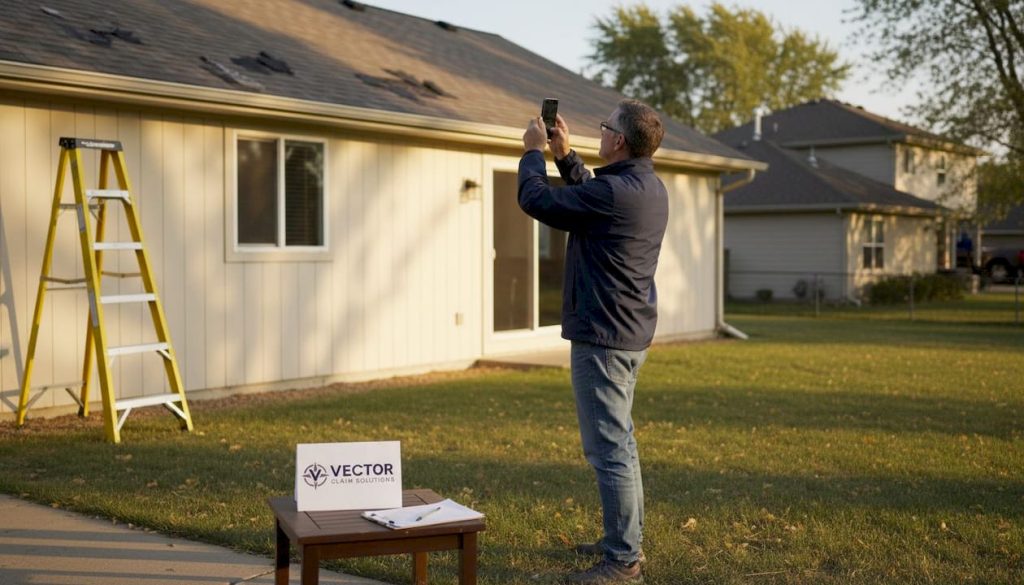
When a storm rolls through and leaves your roof battered, the last thing you want is a denied claim from your insurance carrier. Yet most denied claims trace back to insufficient documentation or failure to tie damage to a specific storm event. The gap between what you see on your roof and what your insurer accepts as valid evidence can cost you thousands of dollars. This guide walks you through concrete examples, actionable checklists, and proven methods for building a documentation record strong enough to support, protect, and maximize your storm damage claim.
Table of Contents
- Criteria for effective roof damage documentation
- Examples: Photo and video evidence
- Building your documentation packet: Receipts, reports, and weather records
- Example workflow: Responding to claim denials with stronger evidence
- What most homeowners miss: Lessons from hundreds of roof claim reviews
- Get expert help with roof claim documentation
- Frequently asked questions
Key Takeaways
| Point | Details |
|---|---|
| Photo evidence is key | Wide and close-up photos with timestamps build credible storm damage claims. |
| Written reports strengthen cases | Include detailed contractor inspections, estimates, and weather records in your documentation package. |
| Appeal denied claims proactively | Rebut denials with fresh evidence and follow the appeal process to maximize settlement chances. |
| Early documentation matters | Record damage within 24–48 hours after a storm for the best evidence and insurance outcomes. |
Criteria for effective roof damage documentation
Now that the importance of documentation is clear, let’s break down the essential criteria your evidence should meet. Effective documentation is not simply taking a few photos on your phone. Your evidence needs to tell a complete, credible story, one that connects visible damage directly to the storm that caused it.
According to Weather Shield Roofers, documentation must connect damage to the storm event and provide clear, time-stamped proof. That means every photo, video, and written record should reference when the storm occurred, where the property is located, and how the damage aligns with the storm’s impact.
GAF advises that building owners should treat roof damage documentation as a legal evidence packet, where photos, reports, and proof of cause are all essential components. Think of it the way a lawyer builds a case: every piece of evidence serves a purpose, and gaps in the record create opportunities for the insurer to push back.
Your documentation should meet these core criteria:
- Time-stamped photos and videos with accurate date and time metadata enabled on your device
- Location references such as GPS data embedded in smartphone photos or written address notes on reports
- Storm correlation linking visible damage to weather events through official weather records or storm reports
- Wide-angle shots establishing the overall condition of the roof
- Close-up photos showing specific damage points with reference objects for scale
- Interior evidence capturing ceiling stains, wet insulation, or water intrusion where applicable
- Written contractor reports from a licensed roofing professional
- Receipts for any emergency tarping or temporary repairs made to prevent further damage
Reviewing roof damage claim requirements before you start can help you align your documentation with what insurers and public adjusters look for. You can also use a structured documentation checklist to make sure nothing is missed.
A thorough roof inspection checklist can also guide what areas of the roof deserve close attention, particularly for older structures or properties with multiple roof planes.
Pro Tip: Enable the date and time stamp feature on your smartphone camera before you go anywhere near the roof. Save a screenshot of local weather data or a storm tracker app immediately after the event, while the timestamps are still current and unambiguous.
Examples: Photo and video evidence
With your documentation criteria identified, here’s how to build a strong photo and video evidence set. The format and approach of your visuals matter just as much as quantity.
NRCIA recommends a repeatable approach that includes wide establishing shots, close-ups, interior evidence, narrated video, weather timeline documentation, and contractor reports, all working together as a unified record. A single blurry photo of cracked shingles rarely moves the needle. A structured set of evidence does.
Experts recommend documenting within 24 to 48 hours when it is safe to do so, capturing wide-angle roof shots from all sides of the property. Waiting longer gives insurers grounds to argue that the damage was pre-existing or caused by a separate event.
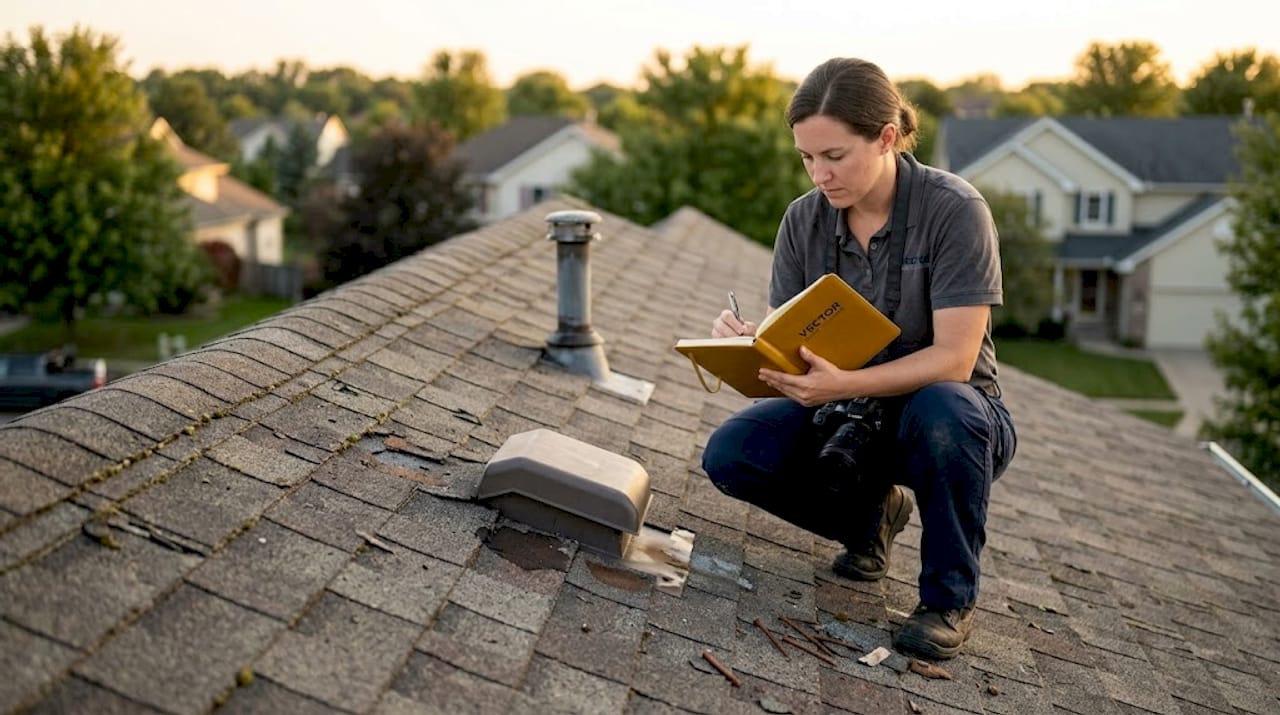
Here is a breakdown of the most effective photo and video types:
| Evidence type | What to capture | Why it matters |
|---|---|---|
| Wide-angle roof shots | All four sides of the roof | Establishes overall scope of damage |
| Close-up photos | Cracked, missing, or bruised shingles; exposed decking | Shows specific impact points clearly |
| Scale reference shots | Tape measure, coin, or ruler next to damage | Gives adjusters measurable context |
| Interior photos | Ceiling stains, water marks, wet drywall | Proves the damage has caused or threatens leaks |
| Narrated video walkthrough | Verbal description of damage location and storm context | Creates a real-time narrative that photos alone cannot |
| Weather data screenshot | Date, time, storm path, wind speed, hail size | Anchors your damage to a documented weather event |
When recording video, speak clearly as you walk. State the date, the property address, and the storm that occurred. Describe what you are seeing and why it appears to be storm-related. This narration becomes part of your evidence record and is surprisingly persuasive.
Before heading to the roof, review this roof inspection guide to understand which areas are most vulnerable to wind and hail damage. Then use a dedicated hail damage photo checklist to structure your approach specifically for hail events, which often leave subtle bruising that untrained eyes miss.
If you are uncertain what storm-caused damage looks like versus wear and tear, our guide on spotting hail damage on your roof breaks down the visual differences in plain terms.
Key evidence-gathering tips:
- Shoot from the ground level and from elevated angles using a ladder where safe
- Capture all four sides of the structure, not just the most obviously damaged section
- Photograph gutters, downspouts, skylights, flashing, and HVAC units on the roof as secondary damage points
- Include photos of the surrounding property, such as dented vehicles, damaged fence slats, or shredded landscaping, as corroborating evidence of storm severity
Pro Tip: Overlay a weather map or storm alert screenshot as a pinned image in your documentation folder. Label it with the property address and date so anyone reviewing the file can immediately connect the storm to your property’s location.
Building your documentation packet: Receipts, reports, and weather records
Photos alone aren’t enough. Let’s look at the critical supporting documents that strengthen your claim packet and demonstrate that damage is real, storm-caused, and in need of professional repair.
NRCIA emphasizes that written, organized reporting enumerating findings and contractor estimates forms the backbone of a disputable claim record. When your photos are backed by a licensed contractor’s written report, it becomes significantly harder for an insurer to dismiss the damage as minor or pre-existing.
GAF also advises policyholders to save receipts for temporary repairs made before the adjuster visit and to provide weather records that tie damage to a specific storm event. These receipts demonstrate that you acted responsibly to limit further loss, which supports your claim’s credibility.
Here is what your supporting document packet should include:
- Contractor inspection report from a licensed roofer, including their findings, damage locations, material affected, and written estimate
- Receipts for emergency mitigation such as emergency tarping, water removal, or temporary board-up services
- Weather records including printouts or screenshots from the National Weather Service, a local news report, or a storm verification service
- Property address and storm date reference on every document, every time
- Prior inspection records if available, to establish a clean pre-storm baseline condition
- Manufacturer or warranty documentation if applicable, especially for commercial roofing systems
The documentation needs differ between residential and commercial properties. Here is a comparison:
| Document type | Residential claims | Commercial claims |
|---|---|---|
| Inspection report | Licensed roofer’s written report | Engineer or certified roofing inspector report |
| Damage photos | Owner or contractor captured | Contractor plus drone or aerial imagery often required |
| Weather records | Storm report, hail report, NWS data | Same, plus radius storm reports for hail size verification |
| Emergency repair receipts | Required | Required, with vendor invoices |
| Business interruption records | Not applicable | Revenue loss documentation may be needed |
| Roof system documentation | Shingle manufacturer and install date | Full roofing system specs and warranty records |
Explore residential claim documentation guidance and commercial claim documentation requirements to understand what each property type demands from a policyholder’s perspective.
For a broader understanding of how roof-related insurance repairs are typically handled, reviewing roof insurance repair requirements gives useful context about what carriers expect before authorizing work.
Example workflow: Responding to claim denials with stronger evidence
If your claim is denied, here is a proven workflow to build and present appeal-worthy documentation.
Louis Law Group advises policyholders to read the denial letter carefully, gather strong documentation including dated photos, independent inspections, and weather reports, and respond before the appeal deadline. Each denial reason is a specific target. Your job is to answer it directly with evidence.
The most common denial grounds are insufficient documentation and failure to link damage to a specific storm. Rebut each one with a clear evidence trail.
Here is the step-by-step workflow to follow:
-
Read the denial letter in full. Identify every stated reason the carrier used to deny or reduce your claim. Write each one down as a separate item to address.
-
Match each denial reason to a specific gap in your current documentation. For example, if they claim the damage predates the storm, your response needs a dated contractor report and weather data establishing the storm occurred and affected your property.
-
Obtain an independent inspection report. Hire a licensed roofing contractor or a public adjuster who can assess the damage without a conflict of interest. Their written findings carry weight.
-
Pull official weather records. Request hail verification or wind event data from a weather data provider. This creates an undeniable link between the storm and the date of your reported damage.
-
Compile a new documentation packet. Organize everything chronologically: storm date, damage photos, contractor report, weather records, emergency repair receipts, and your denial letter with written rebuttals.
-
Submit your appeal before the deadline. Most policies have a defined window for appeal. Missing it can forfeit your right to dispute the decision entirely.
-
Follow up in writing. After submitting, confirm receipt with your insurer and document every communication. Verbal conversations are easy to dispute; emails and letters are not.
“The most common denial grounds are insufficient documentation and failure to link damage to storms. Respond with a clear evidence trail that addresses each denial point directly and provides expert-backed proof of cause.”
For more detail on the appeal process, our guide on how to appeal an insurance claim walks through the steps with practical guidance for policyholders navigating pushback from their carrier.
What most homeowners miss: Lessons from hundreds of roof claim reviews
Beyond the standard steps, we have seen patterns across hundreds of Midwest and Southern claims that are worth sharing. These are not small oversights. They are the kinds of gaps that routinely cost policyholders money.
The most consistent failure we see is the absence of a narrative. Homeowners gather photos but fail to connect them into a coherent story. The adjuster reviewing your file needs to understand, quickly and clearly, that a storm happened on a specific date, that your property is within the affected area, and that the damage shown in your photos is directly attributable to that event. Without that thread, even strong visual evidence can be dismissed.
The second pattern is disorganized documentation. Folders of unsorted photos, undated receipts, and contractor reports with vague language do not build a compelling case. Organizing your evidence chronologically, with a brief written timeline at the front of your packet, can be surprisingly persuasive. Adjusters process dozens of claims. A clear, well-organized file gets taken seriously.
We also see homeowners wait too long to involve a qualified professional. Calling in a public adjuster or a trusted roofing contractor before the insurance adjuster visits your property gives you a significant advantage. You will understand the scope of damage, have written documentation in hand, and be able to speak with confidence about what your claim should cover. Insurers respond to informed, prepared policyholders very differently than they respond to those who are uncertain and reactive.
Our claim negotiation insights resource covers how strategic preparation and documentation directly impact settlement outcomes, drawn from real claim experience.
Written, expert-backed evidence consistently outperforms photos alone. When a licensed professional puts their name on a report detailing storm-related damage, it shifts the burden in your favor. Do not rely on the insurance company’s adjuster to identify every damage point. Bring your own evidence to that conversation.
Get expert help with roof claim documentation
Navigating a storm damage claim on your own can feel overwhelming, especially when you are dealing with a denial or a settlement that does not cover the full scope of repairs.

At Vector Claim Solutions, we work directly with policyholders to review, organize, and strengthen their documentation before and after the adjuster visit. Whether you need help preparing a first-time claim or rebuilding evidence for an appeal, our team brings construction-level analysis and direct negotiation experience to every file. Explore our residential claim support and commercial claim review options, or start with a free insurance claim review to find out where your documentation stands and what it takes to move forward.
Frequently asked questions
What photos should I take to document roof damage for insurance?
Take wide shots of the entire roof from all sides, close-ups of specific damage with a scale reference, and interior shots showing any water intrusion. Timestamped photos from multiple angles are the most credible form of visual evidence.
How soon should I start documenting roof damage after a storm?
Start as soon as it is safe to do so. Documenting within 24 to 48 hours after the storm gives your evidence the strongest possible connection to the weather event.
Can I use my smartphone for roof damage documentation?
Yes, smartphones work well for this purpose. Just make sure to enable photo timestamps and capture images from multiple angles and distances to build a thorough record.
What supporting paperwork strengthens a storm damage insurance claim?
The most impactful supporting documents are contractor inspection reports, written repair estimates, emergency repair receipts, and weather records. Written reports and weather records are critical to tying damage directly to a storm event.
How do I appeal a denied roof damage claim?
Read the denial letter carefully and address each stated reason with targeted evidence. The appeal workflow includes reviewing the denial, gathering dated photos and reports, and submitting a rebuttal before your policy’s appeal deadline.