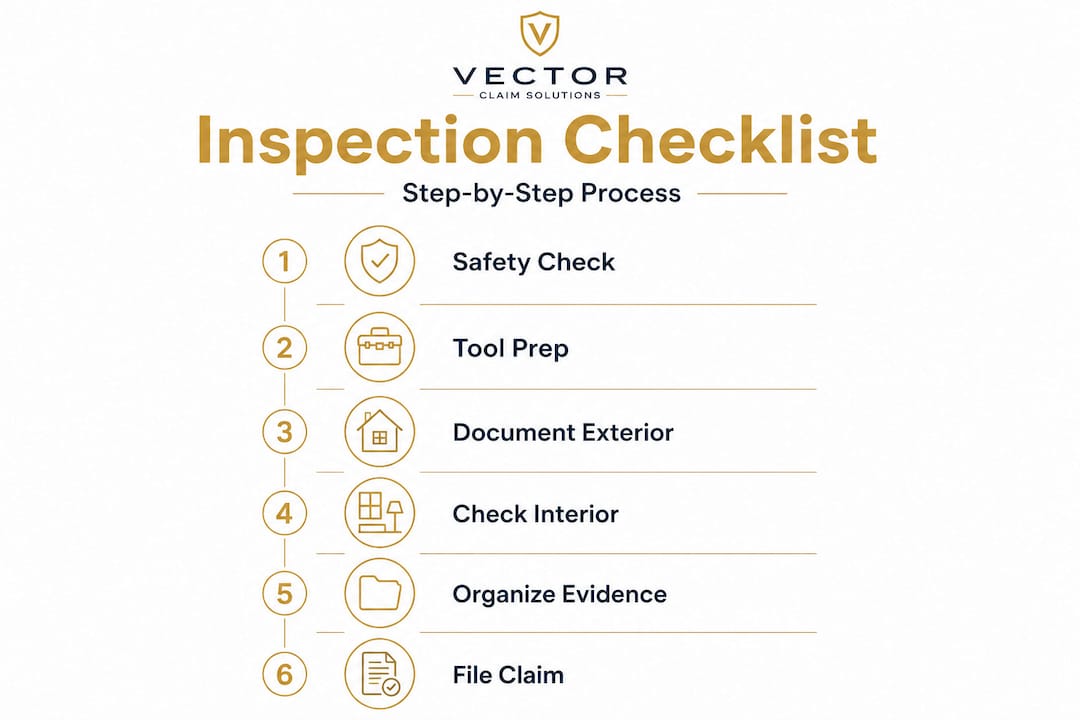
After a hailstorm rolls through, the silence that follows can feel deceptive. Your property looks mostly fine from the driveway, so you assume the damage is minimal. But many homeowners and property managers in storm-prone states like Nebraska, Colorado, and Texas discover weeks later that they missed critical damage, and their insurance claim gets delayed, underpaid, or denied entirely. A systematic, safety-first inspection checklist changes that outcome. This guide walks you through every step, from pre-inspection safety checks to final documentation, so you can approach your insurance claim with organized, compelling evidence.
Table of Contents
- Safety first: Pre-inspection steps
- Gather your inspection tools and checklist
- Step-by-step hail damage inspection: Exterior and roof
- Documenting and organizing your hail damage findings
- Inspecting the interior and less obvious areas
- After your inspection: Next steps for claims and repairs
- What most guides miss about hail inspections
- Get professional support for your hail damage claim
- Frequently asked questions
Key Takeaways
| Point | Details |
|---|---|
| Put safety first | Always inspect from the ground initially and use caution before accessing damaged areas. |
| Be thorough and organized | Check every part of your property, including hidden and interior spaces, to document all hail damage. |
| Document before cleanup | Photograph and log damage evidence prior to making any repairs or cleaning to support your claim. |
| Use the right tools | Gather essential inspection equipment and checklists to make the process efficient and accurate. |
| Get expert help if unsure | Consult a professional or public adjuster for safety or to maximize claim compensation if needed. |
Safety first: Pre-inspection steps
Before you look at a single shingle, safety has to come first. Rushing onto a wet roof or walking near downed power lines puts you at serious risk, and it can also disturb evidence that your insurance adjuster needs to see. Protecting yourself and preserving the damage scene are equally important goals before any inspection begins.
Start with a slow walk around the entire perimeter of your property at ground level. You are looking for obvious warning signs: downed power lines, standing water near electrical equipment, cracked foundation walls, or any area where the structure looks visibly compromised. Do not enter the property if you see active hazards.
From the ground, scan these areas carefully:
- Roof edges and overhangs for missing or curled shingles
- Gutters and downspouts for dents, cracks, or granule buildup
- Siding and trim for pitting, cracks, or paint chipping
- Windows and skylights for cracked glass or damaged frames
- Landscaping for stripped leaves or broken branches, which confirm hail size and intensity
“A practical hail-damage inspection checklist should start with safety and a perimeter/ground-level assessment before any roof climbing.”
If you notice sagging roof sections, broken rafters visible through gaps, or any sign that the structure is unstable, stop and call a professional. Attempting to climb a compromised roof is never worth the risk. You can find additional hail inspection safety tips to help you prepare before stepping outside after a storm.
Pro Tip: Take a quick video of your entire property perimeter before you touch anything. This establishes a baseline record of conditions immediately after the storm, which is valuable if any disputes arise later.
Gather your inspection tools and checklist
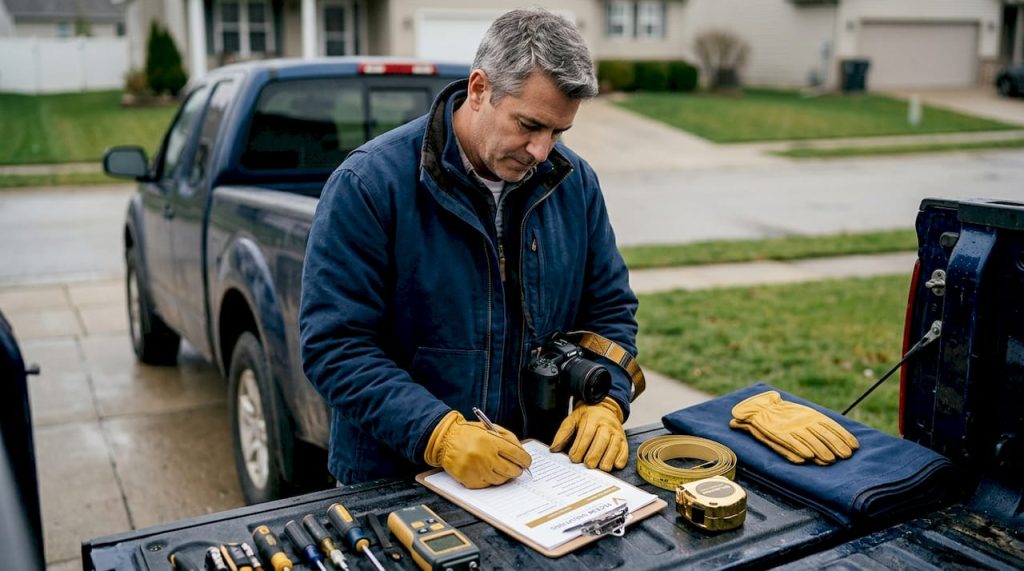
With safety in mind, your next step is making sure you have the right tools and checklist before you start inspecting. Walking out unprepared means you will likely miss damage or fail to document it in a way that holds up during the claims process.
Here is what to gather before you begin:
Personal protective equipment:
- Non-slip, rubber-soled shoes or boots
- Work gloves to handle debris
- A hard hat if you plan to access the roof with professional assistance
Inspection and documentation tools:
- Smartphone or camera with a high-resolution lens
- Notepad and pen for written notes
- Tape measure to record the diameter of hail impacts
- Flashlight or headlamp for attic and shaded areas
- Binoculars for viewing roof sections from the ground
- Chalk or crayon to mark damaged spots for easy re-identification
| Tool | Purpose | Priority level |
|---|---|---|
| Camera/smartphone | Photo and video documentation | Critical |
| Tape measure | Record impact size | High |
| Binoculars | Ground-level roof assessment | High |
| Flashlight | Attic and interior inspection | High |
| Notepad | Written damage log | Critical |
| Chalk/crayon | Mark damage locations | Medium |
Thorough documentation is not just helpful; it is the foundation of a successful insurance claim. Adjusters are trained to look for specific evidence, and a hail damage claim review becomes much smoother when you arrive with organized, timestamped records. A practical hail-damage inspection checklist that covers every surface of your property gives you the best chance of a fair settlement.
Consider using a cloud storage app like Google Drive or Dropbox to back up your photos and videos immediately. If your phone is lost or damaged, your evidence is still safe and accessible.
Step-by-step hail damage inspection: Exterior and roof
Once your tools are ready, follow these step-by-step inspection instructions for a thorough property assessment. Work methodically from one side of the property to the other so nothing gets skipped.
- Start at the roof edge from the ground. Use binoculars to scan for missing shingles, granule loss (which looks like bare, dark patches), and lifted or curled edges. Note the location and approximate size of each issue.
- Inspect gutters and downspouts. Look for dents, cracks, and granule accumulation inside the gutters. Heavy granule loss is a strong indicator that your shingles have sustained significant hail impact.
- Check all siding surfaces. Walk each wall of the building and look for circular dents, cracks, or chipped paint. Vinyl siding often shows clear circular impact marks. Aluminum siding dents easily and is straightforward to document.
- Examine windows, doors, and trim. Hail can crack window frames, break seals, and damage trim pieces. Check every window and door carefully, including storm doors and screens.
- Inspect vents, skylights, and chimneys. These are often overlooked but are common failure points after hail. Cracked skylights and damaged vent caps can allow water intrusion that causes serious structural damage over time.
- Access the roof only when safe. If you choose to go up, bring a helper, use a secure ladder, and avoid walking on wet or steep surfaces. Look for roof damage claim support if the roof shows signs of major structural compromise.
| Damage type | Urgency level | Action needed |
|---|---|---|
| Missing shingles | Urgent | Temporary tarp; file claim immediately |
| Granule loss | High | Document and file; monitor for leaks |
| Cracked skylights | Urgent | Seal temporarily; document and file |
| Dented gutters | Medium | Document; schedule repair |
| Cracked window frames | High | Document; check for water intrusion |
| Dented siding | Medium | Document; assess insulation impact |
Pro Tip: Place a piece of white paper or cardboard on a flat surface near the damaged area before photographing. This gives adjusters a clean contrast background that makes hail impact marks much easier to see in photos.
Understanding the difference between roof repair vs replacement is important at this stage. Minor granule loss on a few shingles may qualify for repair, while widespread damage across multiple sections often warrants a full replacement, and that distinction significantly affects your claim value.
A practical hail-damage inspection checklist confirms that a perimeter and ground-level assessment should always come before any roof access.
Documenting and organizing your hail damage findings
After finding damage, documenting your findings thoroughly is the next critical step. Good photos and organized records are what separate a strong claim from a weak one.
Follow this process for every damaged area you identify:
- Take a wide-angle shot first. Capture the full context of the damaged area, showing its location on the property.
- Move in for a close-up. Get within one to two feet of the damage so individual impacts, cracks, or dents are clearly visible.
- Place a reference object next to the damage. A coin, ruler, or tape measure helps adjusters gauge the size of each impact.
- Label every photo. Use your phone’s notes app or a physical notepad to record the photo number, location (e.g., “north-facing gutter, second floor”), and a brief description of the damage.
- Log the date and time. Timestamped photos carry more weight during the claims process because they tie the damage directly to the storm event.
- Back up everything immediately. Upload photos and notes to a secure cloud folder before you do anything else.
“Sources explicitly instruct to prioritize safety, inspect from the ground first, and document before cleanup or professional inspection.”
Never begin cleanup or repairs before you have completed your documentation. Even well-intentioned actions like sweeping granules off a walkway or patching a small area can remove evidence that supports your claim. Learn more about navigating a property insurance claim correctly before you take any remediation steps.
Pro Tip: Create a simple damage log spreadsheet with columns for location, damage type, estimated size, photo file name, and date. This makes it easy to hand organized evidence directly to your adjuster or public adjuster.

Inspecting the interior and less obvious areas
With the exterior covered and documentation organized, turn your attention inside for a thorough check. Interior damage from hail is often missed entirely, but it can significantly affect your claim value and your property’s long-term condition.
Here is where to look and what to watch for:
- Attic: Check for daylight coming through the roof deck, water stains on rafters or insulation, and any soft or wet spots in the decking. Bring your flashlight and take photos of anything unusual.
- Ceilings and walls: Water stains, bubbling paint, or damp drywall are signs that water has already entered the structure. These issues often appear days after the storm as moisture works its way through.
- Windows and doors from the inside: Check for broken seals (fogging between double-pane glass), drafts, or water on the sill. Damaged seals reduce energy efficiency and are a compensable loss under most policies.
- HVAC units: Exterior air conditioning condenser units are extremely vulnerable to hail. Check the fins for bending or crushing, which restricts airflow and reduces efficiency. Damaged fins are a common claim item that gets overlooked.
- Garages and storage sheds: Metal roofs and panels on outbuildings dent visibly from hail. Check the roof, walls, and any skylights or vents on these structures.
Pro Tip: Run your hand along the interior wall surface near windows after a storm. Even a small amount of moisture on the drywall indicates a seal failure or frame crack that needs to be documented and reported.
A practical hail-damage inspection checklist covers both exterior and interior areas because comprehensive documentation is what drives a complete settlement. For homeowners dealing with residential claims, reviewing residential hail claim tips can help you understand what your policy is likely to cover.
After your inspection: Next steps for claims and repairs
With your complete checklist done, the final piece is knowing what to do with the evidence and how to move forward on your claim. Acting promptly and strategically at this stage protects your settlement.
- File your claim promptly. Contact your insurance carrier as soon as possible after the storm. Most policies have a reporting window, and delays can complicate coverage. Have your documentation ready when you call.
- Request a written confirmation. After filing, ask for a claim number and written confirmation of your filing date. Keep this with your damage records.
- Do not start permanent repairs before the adjuster visits. Temporary fixes like tarping a roof or boarding a broken window are acceptable and often necessary. But permanent repairs before an adjuster inspection can reduce your claim value.
- Meet the adjuster with your documentation. Walk the adjuster through your findings using your photos and damage log. Point out every item you documented, including interior damage and outbuildings.
- Follow up regularly. If you do not hear back within a week, call your carrier and ask for a status update. Consistent follow-up keeps your claim moving.
Pro Tip: If your adjuster’s estimate seems low or misses items you documented, do not accept it as final. You have the right to dispute the assessment.
Sources confirm that inspecting from the ground first and documenting before cleanup are the two most important steps for protecting your claim. For complex or high-value damage, consider working with a public adjuster after storm events to ensure nothing is missed. You can also review your options under storm and catastrophic claims to understand what types of damage qualify for coverage.
What most guides miss about hail inspections
Most inspection guides stop at the basics: look for dents, take photos, file your claim. That advice is correct, but it leaves out the part that actually determines whether you get a fair settlement.
In our experience working with policyholders across Nebraska, Iowa, Colorado, Texas, and Florida, the most common reason claims are underpaid is not missing documentation. It is incomplete scope. A scope is the full list of damaged items that need repair or replacement. When an adjuster writes a scope that misses your HVAC unit, your fence, your detached garage, or the interior water damage from a cracked skylight, you lose money that your policy should have covered.
Here is the uncomfortable truth: insurance adjusters are not always thorough. They work under time pressure, especially after large storm events when dozens of claims are filed in the same area. Critical evidence gets overlooked. Damage that is not immediately obvious gets dismissed. This is not always intentional, but the result is the same: an underpaid claim.
The property managers and homeowners who get the best outcomes are the ones who treat their own inspection as seriously as the adjuster’s visit. They document everything, they organize their findings, and they bring in backup when the adjuster’s estimate does not match what they found. A second opinion from an experienced public adjuster can uncover missed claim opportunities across multiple property damage claim types that most policyholders would never know to ask about.
Never start repairs before you have a written, agreed-upon scope. And never assume that a low initial offer is the final word.
Get professional support for your hail damage claim
Having a complete, documented checklist is powerful. It puts you in a stronger position than most policyholders. But knowing what is damaged is only half the equation. The other half is making sure your insurance carrier pays for all of it.

At Vector Claim Solutions, we help homeowners and property managers turn thorough documentation into full, fair settlements. Our team reviews your hail damage insurance review findings, identifies items that adjusters commonly miss, and negotiates directly with your carrier on your behalf. Whether you are dealing with a residential claim or a large commercial loss, we provide property claims guidance that reduces confusion and protects your financial recovery. Visit Vector Claim Solutions to connect with our team and get the support your claim deserves.
Frequently asked questions
What is the most important step when inspecting for hail damage?
Safety is the top priority. A hail-damage inspection checklist should always begin with a ground-level assessment and hazard check before you consider accessing the roof or any elevated area.
What should I do if I find hail damage on my roof?
Photograph every affected area with close-up and wide-angle shots, record your findings in a written log, and notify your insurance provider before making any permanent repairs. Sources confirm that documenting before cleanup is essential for a strong claim.
Can I inspect the roof myself or should I hire a professional?
Inspect what you can safely from the ground using binoculars. If you spot signs of major structural damage or if the roof is steep or wet, a practical hail-damage inspection is best completed with professional assistance to avoid injury and preserve evidence.
How soon should I start my hail damage inspection after a storm?
Begin as soon as conditions are safe, ideally within 24 to 48 hours of the storm. Fresh evidence is easier to document and more clearly tied to the storm event, which strengthens your claim.
Will my insurance cover all hail damages if I follow the checklist?
Thorough documentation significantly improves your chances of a complete settlement, but actual coverage depends on your specific policy terms and your insurer’s determination of the damage scope.