
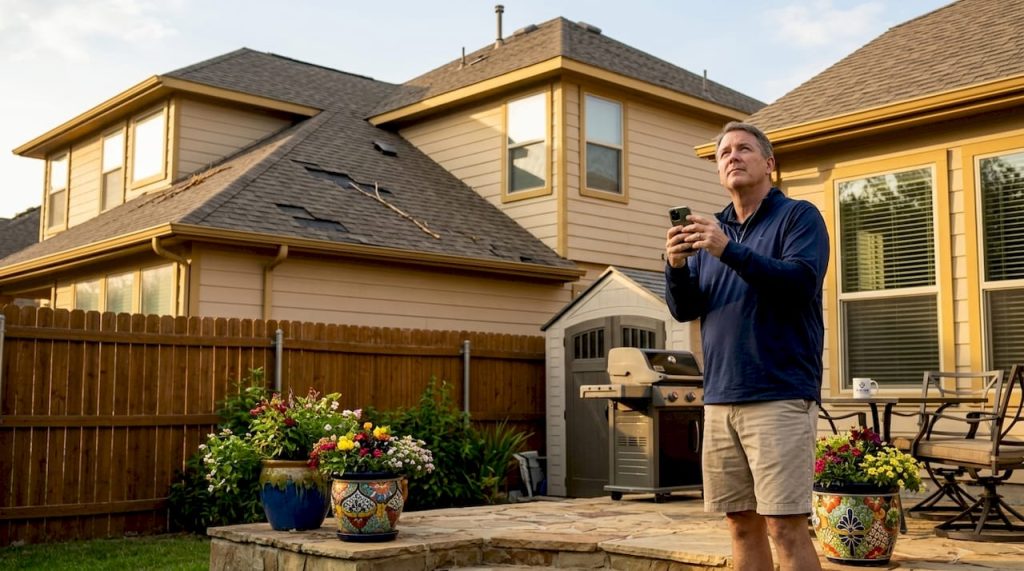
When a storm hits your home, the photos you take in the next 24 to 48 hours can determine whether your insurance claim pays out fully or gets denied. Roof damage photos for claim purposes are not casual snapshots. They are evidence, and insurers treat them as such. Many homeowners submit blurry, incomplete, or improperly labeled images and then wonder why their settlement comes in lower than expected. This guide walks you through exactly what to photograph, how to capture it correctly, and how to preserve your evidence so it holds up under adjuster scrutiny.
Table of Contents
- Key takeaways
- Preparing to take roof damage photos for your claim
- Step-by-step process for capturing claim roof damage pictures
- Protecting photo authenticity and evidence integrity
- Common mistakes that weaken your documentation
- What to expect after submitting your photo documentation
- My perspective on photo documentation and claim outcomes
- How Vectorclaimsolutions can strengthen your roof claim
- FAQ
Key takeaways
| Point | Details |
|---|---|
| Safety before access | Never climb onto a damaged roof. Use ground-level angles, a ladder, or a drone instead. |
| Photo count matters | A thorough claim file typically includes 60 to 100+ images covering all slopes, soft metals, ground debris, and interior damage. |
| Preserve metadata | Keep location services on and avoid editing photos to maintain GPS and timestamp data that proves authenticity. |
| Label with precision | Use objective, directional file names like “Front_Slope_Missing_Shingle_Upper” rather than interpretive labels. |
| Pair photos with official records | Linking your images to a verified NWS or NOAA storm event record significantly strengthens claim credibility. |
Preparing to take roof damage photos for your claim
Before you pick up your phone or camera, a few minutes of preparation will make your entire documentation package more credible and complete. Think of this stage as setting up the evidentiary chain before you collect the evidence itself.
Safety is non-negotiable. After a storm, roof surfaces can be slick, structurally weakened, or covered in debris. Do not climb onto the roof under any circumstances unless a trained professional clears it as safe. You can capture a significant amount of useful evidence from ground level, from the top of a stable ladder positioned at the eave line, or with a drone. Many homeowners in Nebraska, Iowa, Colorado, Texas, and Florida have used basic consumer drones to produce detailed roof inspection images that proved decisive in their claims.
Equipment and tools to gather first
- Smartphone or camera: Use the highest resolution setting available. Optical zoom is preferable to digital zoom, which reduces image clarity.
- Measuring references: A few coins, a ruler, or a tape measure. These go next to damage in close-up shots so adjusters can gauge the actual size.
- A ladder: Useful for eave-level shots without stepping onto the roof surface.
- A notepad or voice memo app: To log the time, weather conditions, and a brief description of each shot as you take it.
- A drone (optional but valuable): Provides overhead angles that are otherwise impossible to capture safely.
Pro Tip: Enable location services on your phone before you begin. GPS geotagging embeds coordinates directly into each photo file, which strengthens evidence credibility and helps insurers verify the images were taken at your property.
Pull the official storm event record for your county and storm date from the National Weather Service (NWS) or NOAA before your insurer’s adjuster visits. Save or screenshot it and add it to your claim file. Linking damage to a verified storm event is one of the most effective ways to preempt insurer pushback about whether the damage is storm-related or pre-existing.
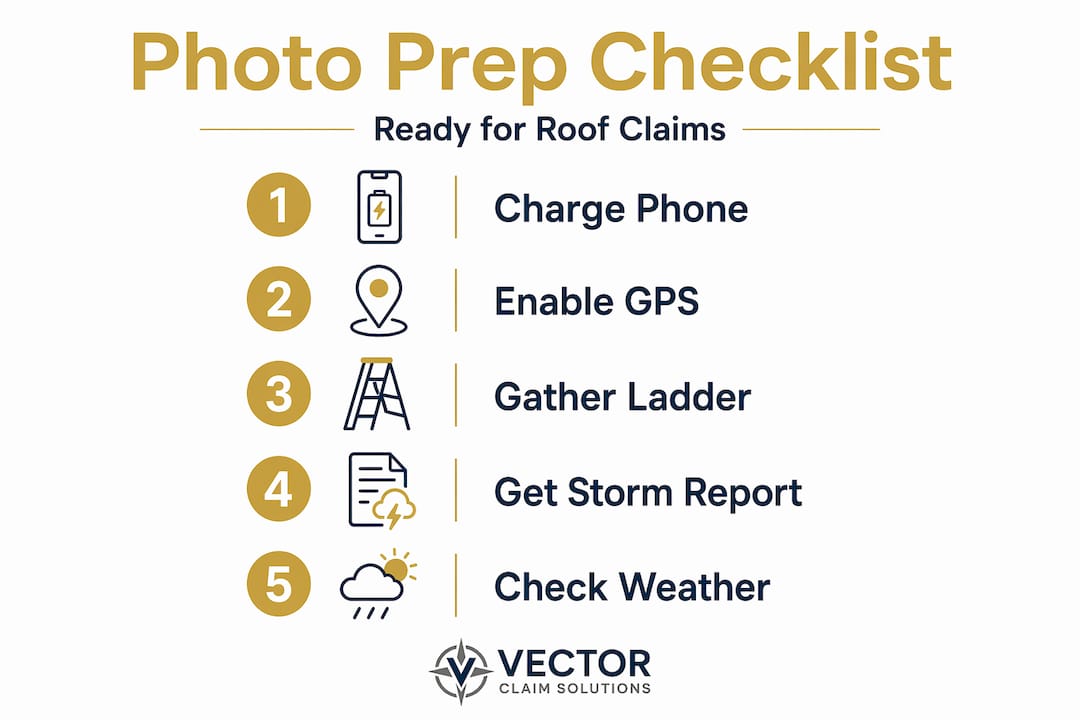
| Preparation step | Why it matters |
|---|---|
| Enable GPS on camera | Embeds location data that proves photos were taken at your property |
| Gather size references | Gives adjusters a scale reference in close-up damage shots |
| Download storm event record | Ties your damage to a verified weather event, reducing denial risk |
| Prepare a written log | Creates a documented timeline that pairs with your photo set |
Step-by-step process for capturing claim roof damage pictures
A complete set of damage photos for insurance follows a clear sequence. You move from the broad view down to the fine detail, slope by slope, surface by surface. Working slope-by-slope with wide context shots first, followed by close-ups, anchors each image to a specific area of the roof and makes the adjuster’s review faster and clearer.
-
Start with establishing shots. Take four wide-angle photos of the entire property from each corner. These orient the viewer and show the roof’s overall condition and orientation before you zoom in on damage.
-
Photograph each slope systematically. For every roof slope, take at least one wide-angle shot showing the full plane, then take six to twelve close-up photos of visible damage on that slope. Do not skip slopes that appear undamaged. An adjuster looking at hail damage wants to see whether it appears consistently across all slopes, which is one of the four criteria they use to authenticate storm-related impacts.
-
Document soft metal components thoroughly. Gutters, downspouts, AC condenser fins, vent caps, and chimney caps are among the most reliable forms of evidence in a hail claim. Dents on soft metal components provide independent proof that hail struck the property and give adjusters a way to correlate dent size with the hailstone size logged in storm reports. Photograph each item with a wide shot for context and a close-up with a coin or ruler next to each dent.
-
Capture close-ups with scale references. Close-up photos should always include a coin or ruler placed next to the damage. A quarter next to a granule loss area or a shingle fracture gives the adjuster an immediate sense of scale without requiring guesswork.
-
Document ground-level evidence before it disappears. Hailstones melt. Photograph them immediately, next to a coin or ruler, while they are still on the ground. Also photograph roof granules in gutters or on the ground, fallen shingle fragments, damaged window screens, and any other storm debris around the property.
-
Photograph interior damage. Ceiling stains, wet insulation in the attic, and water around light fixtures all connect exterior roof damage to interior impacts. These shots are often overlooked, but they significantly strengthen the scope of a claim.
-
Label every photo with objective descriptions. Use directional and positional file names. Clear, neutral descriptions such as “Rear_Slope_Granule_Loss_Center” are far more useful than “Hail_Damage_Roof.” Interpretive labels can actually invite pushback from adjusters, while factual descriptions do not.
Pro Tip: Aim for a minimum of 60 photos and do not stop until you have covered every slope, every soft metal component, ground debris, and at least four interior shots. A thorough photo set makes it significantly harder for an insurer to claim damage was missed or exaggerated.
| Photo type | Minimum count | Key detail to capture |
|---|---|---|
| Establishing / wide property | 4 | Full roof visible, all four corners |
| Per slope (wide + close-ups) | 6 to 12 per slope | Damage patterns, context, location on slope |
| Soft metals (gutters, AC fins) | 8 to 12 total | Dent size with coin reference |
| Ground level (debris, hail) | 4 to 6 | Hailstones with ruler, granules in gutters |
| Interior (attic, ceilings) | 4 to 8 | Water stains, wet insulation, leak points |
Protecting photo authenticity and evidence integrity
Taking the photos is only half the work. How you preserve and submit them matters just as much, particularly as insurers grow more attentive to photo tampering. AI editing software is fueling insurance fraud risk, which means carriers are increasingly scrutinizing photo metadata for signs of alteration.
Here is what to do immediately after capturing your images:
- Do not edit your photos. No brightness adjustments, no filters, no cropping. Each edit can overwrite EXIF metadata, which carries the original timestamp and GPS coordinates.
- Email photos to yourself right away. A timestamped email creates a trusted, third-party record of when the images existed. This is particularly useful if you need to submit supplemental photos later.
- Back up to cloud storage immediately. Google Photos, iCloud, or any cloud service that logs an upload timestamp adds another layer of verification.
- Maintain a written photo log. For each group of shots, note the date, approximate time, weather conditions, and a brief description of what you were capturing. This log becomes part of your evidentiary documentation package alongside the images themselves.
“The aim of roof damage documentation is not aesthetics but a clear, objective record that an adjuster can follow without visiting in person.” — Roofs Wiki
If you discover additional damage after your initial inspection and need to submit supplemental photos later, use what claims professionals call the “anchoring” technique. Connect your new photos to existing verified evidence such as your original timestamped email, an emergency repair invoice, or a mitigation report. Explaining late photos with anchoring protects your credibility and keeps the supplemental evidence from looking like an afterthought.
Common mistakes that weaken your documentation
Even well-intentioned homeowners make documentation errors that slow down claims or give adjusters reason to reduce settlements. Knowing these pitfalls ahead of time is far less stressful than fixing them after the fact.
- Climbing on an unsafe roof. This creates personal injury risk and is never worth it. If you cannot safely reach the roof surface, document from below and bring in a professional inspector.
- Submitting blurry or distant photos. A photo that shows something is wrong but does not clearly show what is wrong is nearly useless. Adjusters rely on wide context shots and tight detail shots together. Neither alone is sufficient.
- Cleaning up before photographing. Do not sweep granules off the driveway, remove hailstones from the ground, or clear debris from gutters before you document everything. Physical evidence disappears quickly, and once it is gone, you cannot recreate it.
- Submitting photos without labels or a timeline. An unorganized folder of 80 images is far less effective than 80 labeled, sequenced photos paired with a written log. Adjusters reviewing large claim files rely on structure to assess damage quickly.
- Assuming a partial photo set is adequate. Evidence deteriorates and ambiguity increases over time. A partial set captured the day after the storm is better than a complete set taken three weeks later.
Pro Tip: If your insurer disputes your photos or requests additional evidence, do not send raw files without context. Attach a brief written explanation of each supplemental photo, tie it to your original timestamped documentation, and reference the official storm record for your area. This structure reduces back-and-forth and keeps your claim moving forward.
What to expect after submitting your photo documentation
Once you submit a well-organized photo package, the claims process tends to move faster. Adjusters reviewing roof inspection images that are labeled, sequenced, and paired with storm records spend less time requesting clarification and more time assessing scope.
Here is what to monitor after submission:
- Track your claim status regularly. Contact your insurer every five to seven business days if you have not received an update. Delays often happen because files are incomplete or awaiting a field inspection.
- Review the adjuster’s scope of loss report carefully. Compare it against your photos to confirm every damaged item you documented appears in their estimate. If something is missing, flag it immediately with your documented evidence.
- Schedule a professional roof inspection if you have not already. Professional inspections add on-roof detail that homeowners cannot safely capture themselves. A detailed scope-of-loss report from a qualified inspector complements your homeowner photos and carries significant weight with adjusters.
- Get a second opinion if the settlement seems low. A public adjuster can review your documentation, the insurer’s scope, and your policy language to identify gaps. Many underpaid claims involve damage that was photographed but not included in the insurer’s estimate.
- Pair your photos with your storm damage checklist. A structured checklist keeps your file complete and gives you a clear record of every component you documented.
My perspective on photo documentation and claim outcomes
I’ve worked through hundreds of storm damage claims, and the single most consistent pattern in underpaid or denied claims is inadequate photo documentation. Not because homeowners don’t care. They do. It’s because nobody tells them exactly what standard they’re being held to until after the claim falls short.
What I’ve learned is that insurers don’t look at your photos the way you do. Adjusters look for random impact patterns, recent damage indicators, size correlation with hail reports, and consistency across multiple slopes. If your photos can’t demonstrate all four of those things, the claim is at risk, regardless of how obvious the damage looks to you in person.
The details that save claims are often the ones homeowners skip. Soft metal dents. Hailstones with a quarter next to them. An attic shot showing wet insulation. These aren’t dramatic. But they function as calibration points that tie your evidence to a specific storm event and a specific impact pattern.
The uncomfortable reality is that insurers are seeing more manipulated images than ever before, and that has made the review process stricter for everyone. Your best protection is an unedited, GPS-tagged, timestamped photo set submitted quickly, backed by a written log that reads like a clear factual record.
Don’t wait for someone else to document your damage. Take control of your evidence the day of the storm, and your claim will be in a much stronger position from the first call forward.
— Vector
How Vectorclaimsolutions can strengthen your roof claim
Taking your own photos is a strong first step. But when you’re dealing with a large or complex claim, or when your insurer has already issued a settlement that feels too low, professional support makes a measurable difference.

At Vectorclaimsolutions, we work with homeowners and property managers across Nebraska, Iowa, Colorado, Texas, and Florida to review, document, and negotiate storm damage claims. We examine insurer scope reports against your photo evidence, identify missed or underpaid damage, and build structured claim files that hold up under carrier scrutiny. If you’ve already received an estimate that doesn’t match what you see on your roof, learn how insurance calculates claim payments and where gaps typically appear. You can also explore when to consider a public adjuster to understand whether professional representation makes sense for your situation.
FAQ
How many photos do I need for a roof damage claim?
A thorough claim file typically includes 60 to 100 or more images, covering establishing shots, all roof slopes, soft metal components, ground-level debris, and interior damage. More photos with clear labels are always better than fewer.
What type of roof damage photos matter most to adjusters?
Adjusters prioritize photos that show random impact patterns, fresh damage indicators, size-consistent dents, and damage across multiple roof slopes. Close-ups with scale references and soft metal dent photos are particularly strong evidence.
Should I edit or enhance my photos before submitting them?
No. Editing photos, even minor brightness adjustments, can alter EXIF metadata that carries your GPS location and original timestamp. Submit unedited originals and email them to yourself immediately to create a trusted timestamp record.
What if I find more damage after submitting my initial photos?
You can submit supplemental photos at any time. Use the anchoring technique: connect new images to your original timestamped documentation or an emergency repair invoice to keep the supplemental evidence credible and clearly tied to the original storm event.
Do I need a professional inspection in addition to my own photos?
Yes, in most cases. Professional roof inspections provide on-roof detail images and a formal scope-of-loss report that carry more weight with insurers than homeowner photos alone, especially for large or disputed claims.